Notion Template: Master Weekly Planning in 10 Steps
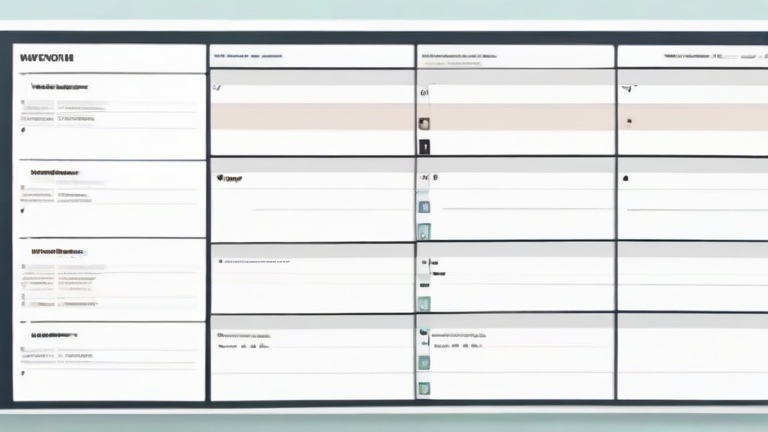
TL;DR: Create a dedicated Notion page with a weekly view, pre-populated with daily columns and a task database linked to your master project list. Use filters and templates to automate recurring tasks and track progress efficiently in under five minutes.
Introduction
Effective weekly planning is the cornerstone of productivity, yet many professionals struggle to maintain consistency. Notion offers a flexible environment to build a personalized planning system that adapts to your specific workflow. This guide walks you through creating a robust weekly planning template that saves time and reduces cognitive load.
If you want to dig deeper, check out our guide on Women: 70% of Global Health Workforce Amid 34M Shortage.
Step-by-Step Instructions
Step 1: Create a New Database.
Start by opening a new blank page in your Notion workspace. Select “New Database” and choose the “Table” view. Name this database “Weekly Planner.” This central database will hold all your weekly entries and tasks, ensuring data is structured and searchable.
Step 2: Add Essential Properties.
Define the properties that will track your week’s details. Add a “Date” property to specify the start date of each week. Include a “Status” property with options like “Planned,” “In Progress,” and “Completed.” Also, add a “Notes” property for general observations or goals for that specific week.
Step 3: Create a Gallery View.
Add a new view to your database and select “Gallery.” This view transforms your weekly entries into cards, making it easier to visualize your progress at a glance. Customize the card size to medium for readability. This view serves as your primary dashboard for quick overviews.
Step 4: Build the Daily Template.
Inside the template editor for your weekly entries, create a header section labeled “This Week’s Focus.” Below this, add five columns representing Monday through Friday. Use Markdown headers for each day to keep the layout clean and organized. This structure ensures you have a consistent format for every single week.
Step 5: Link to Task Databases.
Create a new database called “Tasks” if you do not already have one. In your Weekly Planner template, add a “Relation” property that links to your Tasks database. This connection allows you to pull relevant tasks directly into your weekly view, ensuring nothing falls through the cracks.
Step 6: Implement Filters for Clarity.
Within the Tasks relation, apply a filter to show only tasks due in the current week. This automation ensures your weekly plan is focused on immediate priorities. Avoid cluttering your view with long-term projects or completed items, which helps maintain mental clarity.
Step 7: Add a Progress Bar.
Use a rollup property to calculate the percentage of tasks completed for the week. Display this as a progress bar in your Gallery view. Visualizing progress provides motivation and helps you identify bottlenecks early in the week when adjustments can still be made easily.
Step 8: Incorporate a Reflection Section.
At the bottom of each weekly template, add a text block titled “Reflections.” Use prompts such as “What went well?” and “What can be improved?” This habit encourages continuous improvement and helps you refine your planning process over time based on actual outcomes.
Step 9: Set Up Automations.
Use Notion’s button feature to create a “Start New Week” button. This button should duplicate the previous week’s entry and automatically reset the status to “Planned.” This saves time and ensures continuity by carrying over any unfinished tasks from the previous week seamlessly.
Step 10: Test and Refine.
Spend the first week using your new template without making major changes. Observe what works and what feels cumbersome. Adjust property names, view settings, or template structure based on your experience. A perfect system is one