How to Install a Samsung Galaxy S24 Screen Protector: A Step-by-Step Tutorial
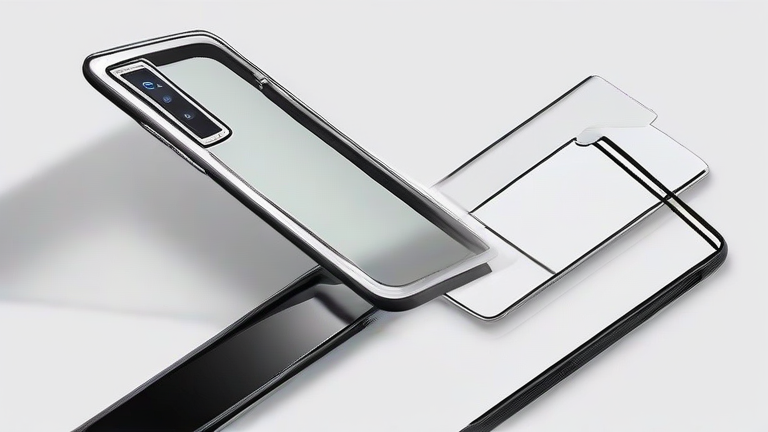
TL;DR: Clean your Samsung Galaxy S24 screen thoroughly with the provided dust removal sticker and ensure it is completely dry before applying the protector. Align the tempered glass carefully using the phone’s edges as a guide, then press firmly from the center outward to eliminate air bubbles and achieve a seamless bond.
Preparation Is Key to a Flawless Finish
Before you even unbox your new screen protector, finding the right workspace is crucial. Choose a clean, well-lit area with minimal airflow to prevent dust particles from settling on your screen during the application process. Humidity can also be an enemy, so avoid applying the protector in bathrooms or areas with high moisture. Once you have secured your ideal spot, gather all the tools provided in the kit: the microfiber cloth, the wet wipe, the dry cloth, and the essential dust removal stickers. It is also wise to wash your hands with soap and water to remove oils and dirt, drying them completely with a lint-free towel. This simple step significantly reduces the risk of transferring grease onto the adhesive side of the screen protector, which can cause unsightly spots or poor adhesion. Take a moment to inspect the protector for any manufacturing defects while you have it in your hand, ensuring you are working with a high-quality product that fits your specific Samsung Galaxy S24 model perfectly.
If you want to dig deeper, check out our guide on San Mateo County: Do You Need a Permit for Humanoid Robots?.
The Cleaning Process: Detail-Oriented Success
The most critical phase of the installation is cleaning the display. Start by using the dry microfiber cloth to gently wipe away any loose dust or fingerprints. Follow this by using the wet wipe, scrubbing the screen in circular motions to remove any stubborn smudges or oils. Once the screen is damp from the wipe, immediately use the dry cloth to buff it until it is streak-free and completely dry. Inspect the screen under good lighting at an angle to ensure no residue remains. If you see any specks of dust, do not try to blow them away, as this will only introduce more airborne particles. Instead, use the sticky dust removal sticker provided in the kit. Press the sticker firmly onto the screen and lift it away, repeating this process until the surface is immaculate. Patience here pays off, as a single grain of dust trapped under the glass will be visible for the life of the device.
Alignment and Application Techniques
With the screen pristine, it is time to apply the protector. Most Samsung Galaxy S24 screen protectors come with a alignment frame or specific edge guides. Hold the protector by its edges, avoiding contact with the adhesive side. Carefully lower it onto the phone, aligning the cutouts for the speaker, sensors, and cameras with the device’s hardware. If your protector does not have a frame, use the phone’s physical edges as a guide, ensuring the bottom edge is flush with the bezel. Once aligned, gently place the center of the protector onto the screen. The adhesive should begin to bond automatically. If you need to adjust the position, lift the protector slightly and try again, but avoid sticking and un-sticking it repeatedly. After placement, press down firmly on the edges and corners to secure the bond.
Eliminating Air Bubbles
Once the protector is applied, you may see small air bubbles trapped underneath. Do not panic. Take the microfiber cloth and gently press from the center of the screen outward toward the edges. This technique pushes the air out toward the borders where it can escape. For stubborn bubbles near the edge, you can use a soft, flat card to gently push the air out. If a bubble remains stuck in the center, lift the nearest edge of the protector slightly and re-smooth it down. Ensure all corners are securely adhered by applying firm pressure around the perimeter. Your screen is now protected, offering superior clarity and impact resistance for your valuable device.
FAQ
Q: Can I remove and reapply the screen protector if I make a mistake?
A: Yes, most tempered glass protectors can be removed and reapplied a few times, but the adhesive strength decreases with each attempt, so be prepared for potential dust collection or weaker bonding.