How to Fix a Leaky Faucet: Step-by-Step Plumbing Tutorial
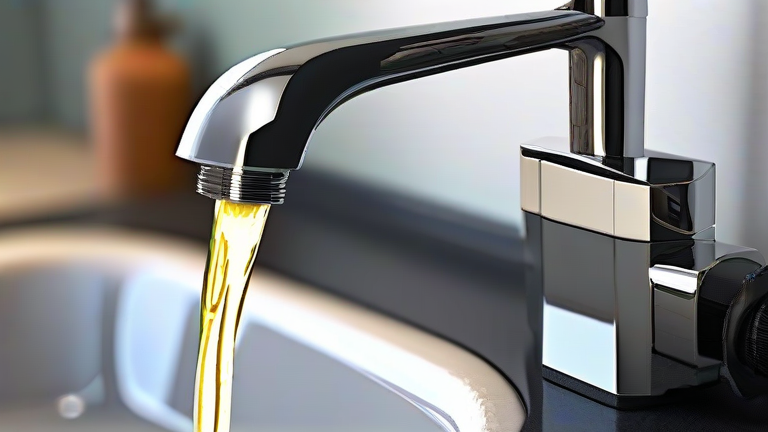
TL;DR: Turn off the water supply, disassemble the handle, and replace the worn-out washer or cartridge to stop the drip. Reassemble the components and turn the water back on to verify the repair is successful.
Preparation and Safety
Before you begin any plumbing work, it is crucial to prepare your workspace and ensure safety. Gather your tools first, including an adjustable wrench, screwdrivers, pliers, and replacement parts specific to your faucet model. Locate the shut-off valves under the sink and turn them clockwise until they are tight. If your faucet lacks individual shut-off valves, you must turn off the main water supply to your home. Open the faucet to drain any remaining water from the pipes, preventing accidental spraying when you disassemble the unit. Lay down a towel in the sink basin to catch small screws and parts, preventing them from falling down the drain.
Disassembly Process
Start by removing the decorative cap on the faucet handle, usually found on the hot or cold side. Use a flathead screwdriver or a knife to gently pry it off. Underneath, you will find a screw securing the handle. Remove this screw and lift the handle off. If it is stuck, use pliers to gently wiggle it loose without damaging the finish. Once the handle is removed, you will see the packing nut or retaining clip. Use your adjustable wrench to loosen and remove the packing nut. Carefully extract the stem or cartridge assembly. Inspect the O-rings, washers, and seats for signs of wear, cracks, or mineral buildup. These are the most common culprits behind leaks.
Replacement and Reassembly
Take your old parts to a hardware store to ensure you buy exact matches, as faucet designs vary significantly. Clean the interior of the faucet body with vinegar to remove any mineral deposits that could interfere with the new seal. Insert the new stem or cartridge into the faucet body, ensuring it sits correctly and aligns with the slots. Reattach the packing nut and tighten it snugly, but do not overtighten, as this can damage the threads. Place the handle back onto the stem and secure it with the screw. Replace the decorative cap. Finally, turn the water supply back on slowly. Check for leaks around the base and handle. If the drip persists, you may need to replace the valve seat as well. With patience and the right parts, you can restore your faucet to perfect working order efficiently.
FAQ
Q: How long does it take to fix a leaky faucet?
A: It typically takes between 30 minutes to an hour, depending on your experience and the complexity of the faucet model.
If you want to dig deeper, check out our guide on Heavy Metal Contamination: Is It a Real Problem?.
Q: What tools are essential for this repair?
A: You will need an adjustable wrench, screwdrivers, pliers, and the specific replacement parts for your faucet type.
Q: What if I cannot find the shut-off valves?
A: If individual valves are missing, you must locate and turn off the main water supply to your entire house before proceeding.